Raving about makeup, skincare, hair and other little obsessions... A Beauty Blog

Showing posts with label Eyes. Show all posts
Tuesday, November 4, 2014

Monolid Eye Makeup Tutorial

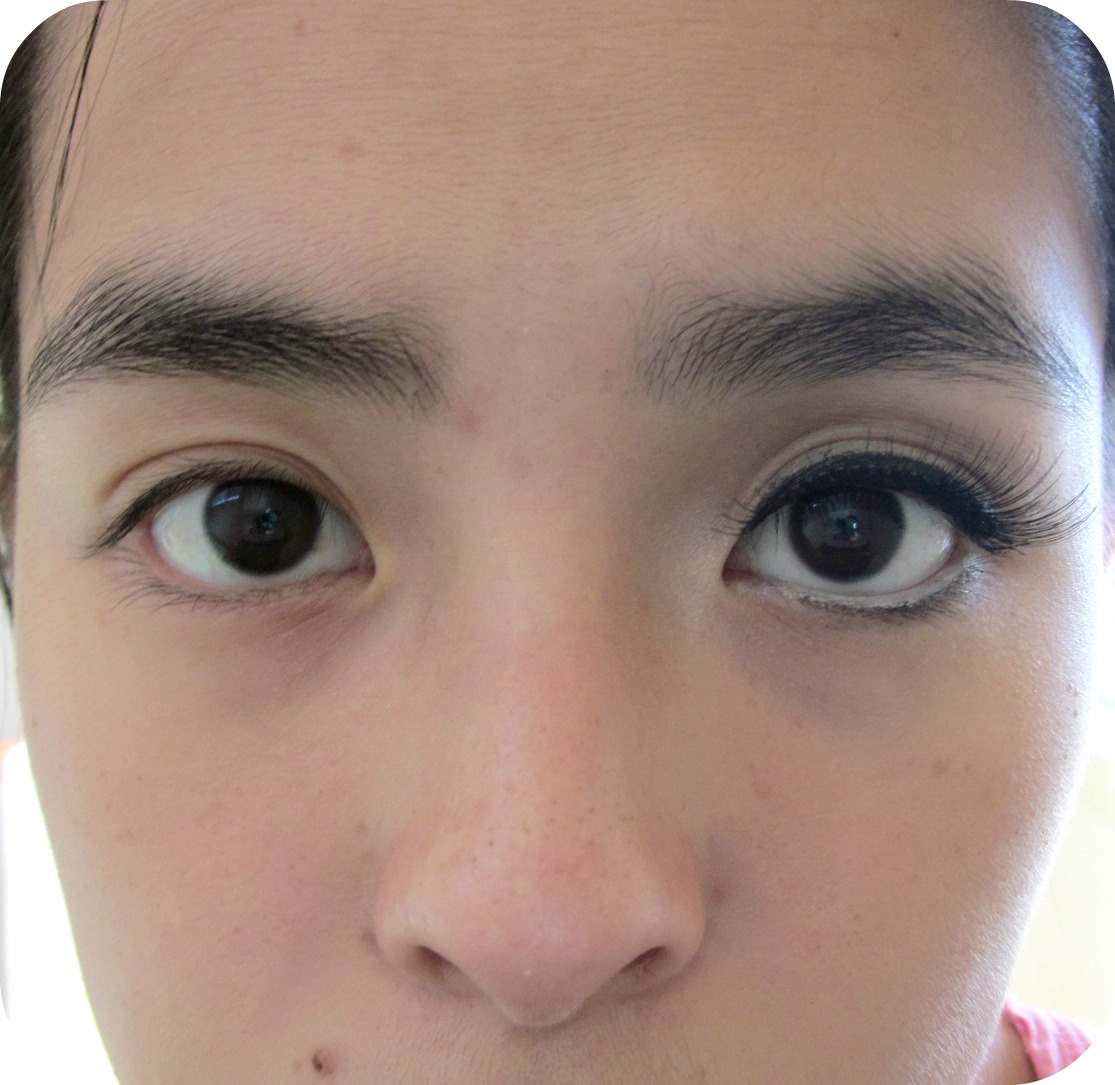
It's finally here!! The long-awaited and promised monolid eye makeup tutorial! I'm really sorry it has taken me a whole year to get around to it!


A big thank you to one of my closest friends, best-est housemate and the most gorgeous monolided beauty I know, Ann-Marie, for being the model for this highly requested tutorial.


I really hope you enjoyed the tutorial. Now I shall proceed to bombarding you with lovely photos of Ann-Marie! 


If you have any requests, please feel free to leave a comment below.
Saturday, November 30, 2013

Purple and Gold Party Eye Makeup Tutorial


Party season is here! It's time to bring out your stash of amazing false eyelashes and glitter pigment. Today, I'm going to show you how to do a simple yet stunning purple and gold eye makeup. The star product of this tutorial is the Rimmel London Scandaleyes Eye Shadow Sticks in Paranoid Purple. 

Here are the steps: 


1. Prep your eyes with primer. Here I'm using Benefit's Stay Don't Stray Primer. I simple dot some product all over my eyelids and then blend it out when my ring finger. 


2. Apply Paranoid Purple all over your eye lid, staying below the crease and steering clear of the inner corners of your eyes. Blend it out a little with your ring finger. 


3. With an eye shadow brush, apply a deeper purple or brownish purple colour to the outer corners of your eyelids. I used Hustle from the Urban Decay Naked Palette.


4.  With a blending brush, work a neutral light brown colour into your crease. I used Naked from the Urban Decay Naked Palette. 


5. Swipe some Paranoid Purple onto your pencil brush and run the colour under your lower lash line. 


6. With an eyeshadow brush, pat some gold eyeshadow or pigment onto the inner corners of your eyes. I used Half Baked from the Urban Decay Naked Palette. 


7. Lastly, line your top lash line with long lasting black gel/liquid liner. Curl your lashes and apply lots of mascara 

8. This is optional. You can draw black liner on your top waterline and apply false eyelashes for an even more dramatic eye makeup look. 


I love purple and gold together. It's my favourite combination! 


I was partly inspired by the purple and gold top and necklace that I was wearing at the time. 


Please excuse the unruly brows!


Hope you found this helpful and enjoyed reading this post. I will be posting more tutorials using the Rimmel Scandaleyes Shadow Sticks soon. Keep an eye out! 


What's your go-to party eye makeup look?
Monday, October 7, 2013

Rimmel London Scandaleyes Eye Shadow Sticks Review & Swatches

Top to bottom: Bad Girl Bronze, Blamed Blue, Bulletproof Beige, Guilty Grey, Paranoid Purple, Witness White, Blackmail, Tempting Turquoise, and Gossip Green 

Rimmel London Scandaleyes Eye Shadow Sticks 
Claims: "Designed to provide rich colour in one easy stroke. Creamy, crease-proof, and waterproof colour."
RRP: AUD12.95
Packaging: 5 out of 5
Review: Rimmel London has been churning out a lot of good products lately. I'll keep this simple and sweet since there are many other raving reviews out there. These eyeshadow pencils/crayons are very creamy and smooth. They are long-lasting and do not crease. This invention is a lazy/time-poor girl's dream. Application is so quick and easy. I usually apply a colour all over my lids and then apply a dark colour on the outer corners of my eyes. Then, using my clean ring finger, I blend all the colours to make it look cohesive. And Ta-da! You're done!


Going from left to right: Witness White, Blackmail, Guilty Grey, Paranoid Purple, Blamed Blue, Tempting Turquoise, Gossip Green, Bulletproof Beige, and Bad Girl Bronze 

I love how pigmented these eyeshadow sticks are. My favourite combination is the Beige and Bronze. Yes, I know it's safe and kinda boring. But I love the Blue too. It's such a beautiful and daring colour. There's only one thing that I must warn you about; because the pencils are so soft and creamy, they break quite easily. So there's no point in making them mega sharp. Keep it blunt. If you want more precision, just swipe some colour off the stick with a brush.

Please let me know if you'd like to see a tutorial of me using a couple of these eyeshadow sticks.


Do you use eyeshadow sticks? What do you think of them? 
Sunday, September 29, 2013

Keira Knightley-esque Smokey Eye Makeup Tutorial


Hello, everyone! So as promised, here's the Keira Knightley Smokey Eye Makeup Tutorial that I filmed. I have a couple more tutorials planned and hopefully they will be up next month before I go into exam period. Anyway, I hope you like it!


Products used:
1. Essence Smokey Eyes Set in 02 Punk Vibe
2. Rimmel London Waterproof Gel Eyeliner
3. Benefit Bad Gal Lash Mascara
4. Bobbi Brown Creamy Concealer in Beige
5. Rimmel London Stay Matte Pressed Powder in 008 Cashmere
6. MAC lash #32
7. Urban Decay Naked Palette (eyeshadow in Virgin)


If you have any feedback, please feel free to leave it in the comments below!


Follow me on Facebook
Follow me on Bloglovin'
Wednesday, December 5, 2012

Wicked Wednesday: How to Make Your Eyes Look Bigger Tutorial

I know my tutorials usually have lots of step-by-step photos. Today, I've decided to try something different. Something simpler. Do let me know what you think.


1. Apply Virgin (from the Naked Palette) all over your eyelids, particularly on your inner corners and your mobile lid.

2. Mix Naked and Buck (from the Naked Palette) and sweep them into your crease.

3. Line your upper lash line thickly with black eyeliner.

4. Line your upper water line with black eyeliner. This is to give the illusion of very full and thick lashes.

5. Line your lower lash line (thinly) with black eyeliner. This is to give the illusion that you have a thick lower lashes.

6. Line your lower water line with a nude/white eyeliner.

7. Apply false eyelashes if you wish. The one I used is from Eylure (pictured below).


Can you see a difference between the right and left eye?

So, ladies, what's the verdict. Should I stick with this style of tutorial or go back to ones like these?

Please note this is NOT a sponsored post; in case anyone got the wrong impression.
Wednesday, November 21, 2012

Wicked Wednesday: Skinvitals Hydraflex Eyes Review + Demo

Hey everyone! Hope you're having a good week so far. I have another review for you today.


Skinvitals Hydraflex Eyes  
Claims: Soothing eye mask that targets the entire eye area to reduce the appearance of dark circles and bags under your eyes. Replenish and rejuvenate the skin, as well as even out the skin tone and restore clarity.
RRP: AUD$14.99
Packaging: 5 out of 5
Review: Although this is the only eye mask I've tried and I can't make any comparisons, I have to say that I really like it. The instructions for applying this product are easy to comprehend and carry out. There is no rinsing or washing required afterwards. I found that after using this mask, my eye area feel soft smooth and hydrated. The dark circles under my eyes became less prominent. My whole eye area looks a bit brighter and more awake. Perhaps the slight cooling sensation is a factor. It just made me feel freshened up. 

This product is a little bit expensive (approx. $5 per cloth mask) but I have to say that they do give you your money's worth. They pack each mask with loads of serum (explained in the next paragraph). Also, the packaging is appealing and I can't find any fault with it, hence the 5 out of 5. To sum it up, I think this is a really nice eye mask. If you're like me and you've been lazy with routinely applying eye creams, this is how we can cheat our way to bright eyes for the day/night

Now on with the demo! 


Each mask comes in their own little packet. As you can see, it says 8mL. My guess is they are referring to the amount of serum that the cloth mask is holding, which is a lot! The mask was soaking with serum when I removed it from the packaging (they're really generous with it!). Application instructions are found both at the back of the box and the back of the packets. 


So there I am relaxing with this eye mask on. It covers a very large area of my face so I was essentially giving my eye area and the top of my cheeks a bit of a treat. After 15 minutes, I remove and throw the mask into the bin. It seems like a waste but I guess you can choose to put the mask on a little longer if you like. 


Then, I grabbed a tissue and patted away the excess serum. You may choose to massage and push more serum into your skin if you like. However, I felt that there was so much serum on my skin that there was no way my skin was going to absorb all of it! Please excuse my uneven eyelids in this photo.


And there you have it: bright eyes! And for the record, the "bags" under my eyes are from me smiling. For more products and stockist, you can check out their website here

Have you tried any of Skinvitals masks? Which one(s) do you like or would like to try? Please do share in the comments below!
Wednesday, June 20, 2012

Wicked Wednesday: Eye Makeup Removal

Source: tips4beauty.blogspot.com
I recently came across this article about removal of  eye makeup. No, it's not written by some celebrity makeup artist or by a makeup remover manufacturer. It was written by optometrists/eye doctors. It's really fascinating because what they write in the article is true and not many makeup-wearers are aware of it. Not removing makeup properly does not just clog your pores, your eye makeup will irritate your eyes and affect the quality of your tears. Women who wear lots of mascaras and line their waterlines are more prone to dry eyes.

You might think, "Okay, so what? I can just use eye drops." Yes, but tears are an essential part of your defense/immune system. It contains enzymes that can break down bacteria, which helps to protect the eye from infections. Using eye drops will keep your eyes moist but it will not contain all the natural enzymes that your tears have. Since I've read the article, I've been cutting down on waterlining my eyes. I still wear mascara but since I seldomly wear makeup, it should not affect me. 

However, if you do wear a lot of eye makeup and love and cannot live a day without it, just make sure you take time to remove your it. The article advises against using waterproof makeup and oil removers because it leaves a bit of residue behind. Please read the article for a full explanation. A way to improve the quality of your tears is to eat fish regularly. A lot of fish contain omega 3 fatty acids.

As for actual makeup removal (including eyes), I love Lisa Eldridge's method. She's a high profile makeup artist who has worked with Kate Winslet, Emma Watson and (let's not forget!) Katy Perry, just to name a couple. She's really amazing and very knowledgeable. I thoroughly enjoy watching her Youtube videos.


Summary
  • Remove your eye makeup properly!!  
  • It affects your tear production, causing dry eyes and poor tear quality.
  • Tears are essential for protecting your eyes. 
Do you wear a lot of eye makeup? Do you experience dry eyes? Please share your experience.